
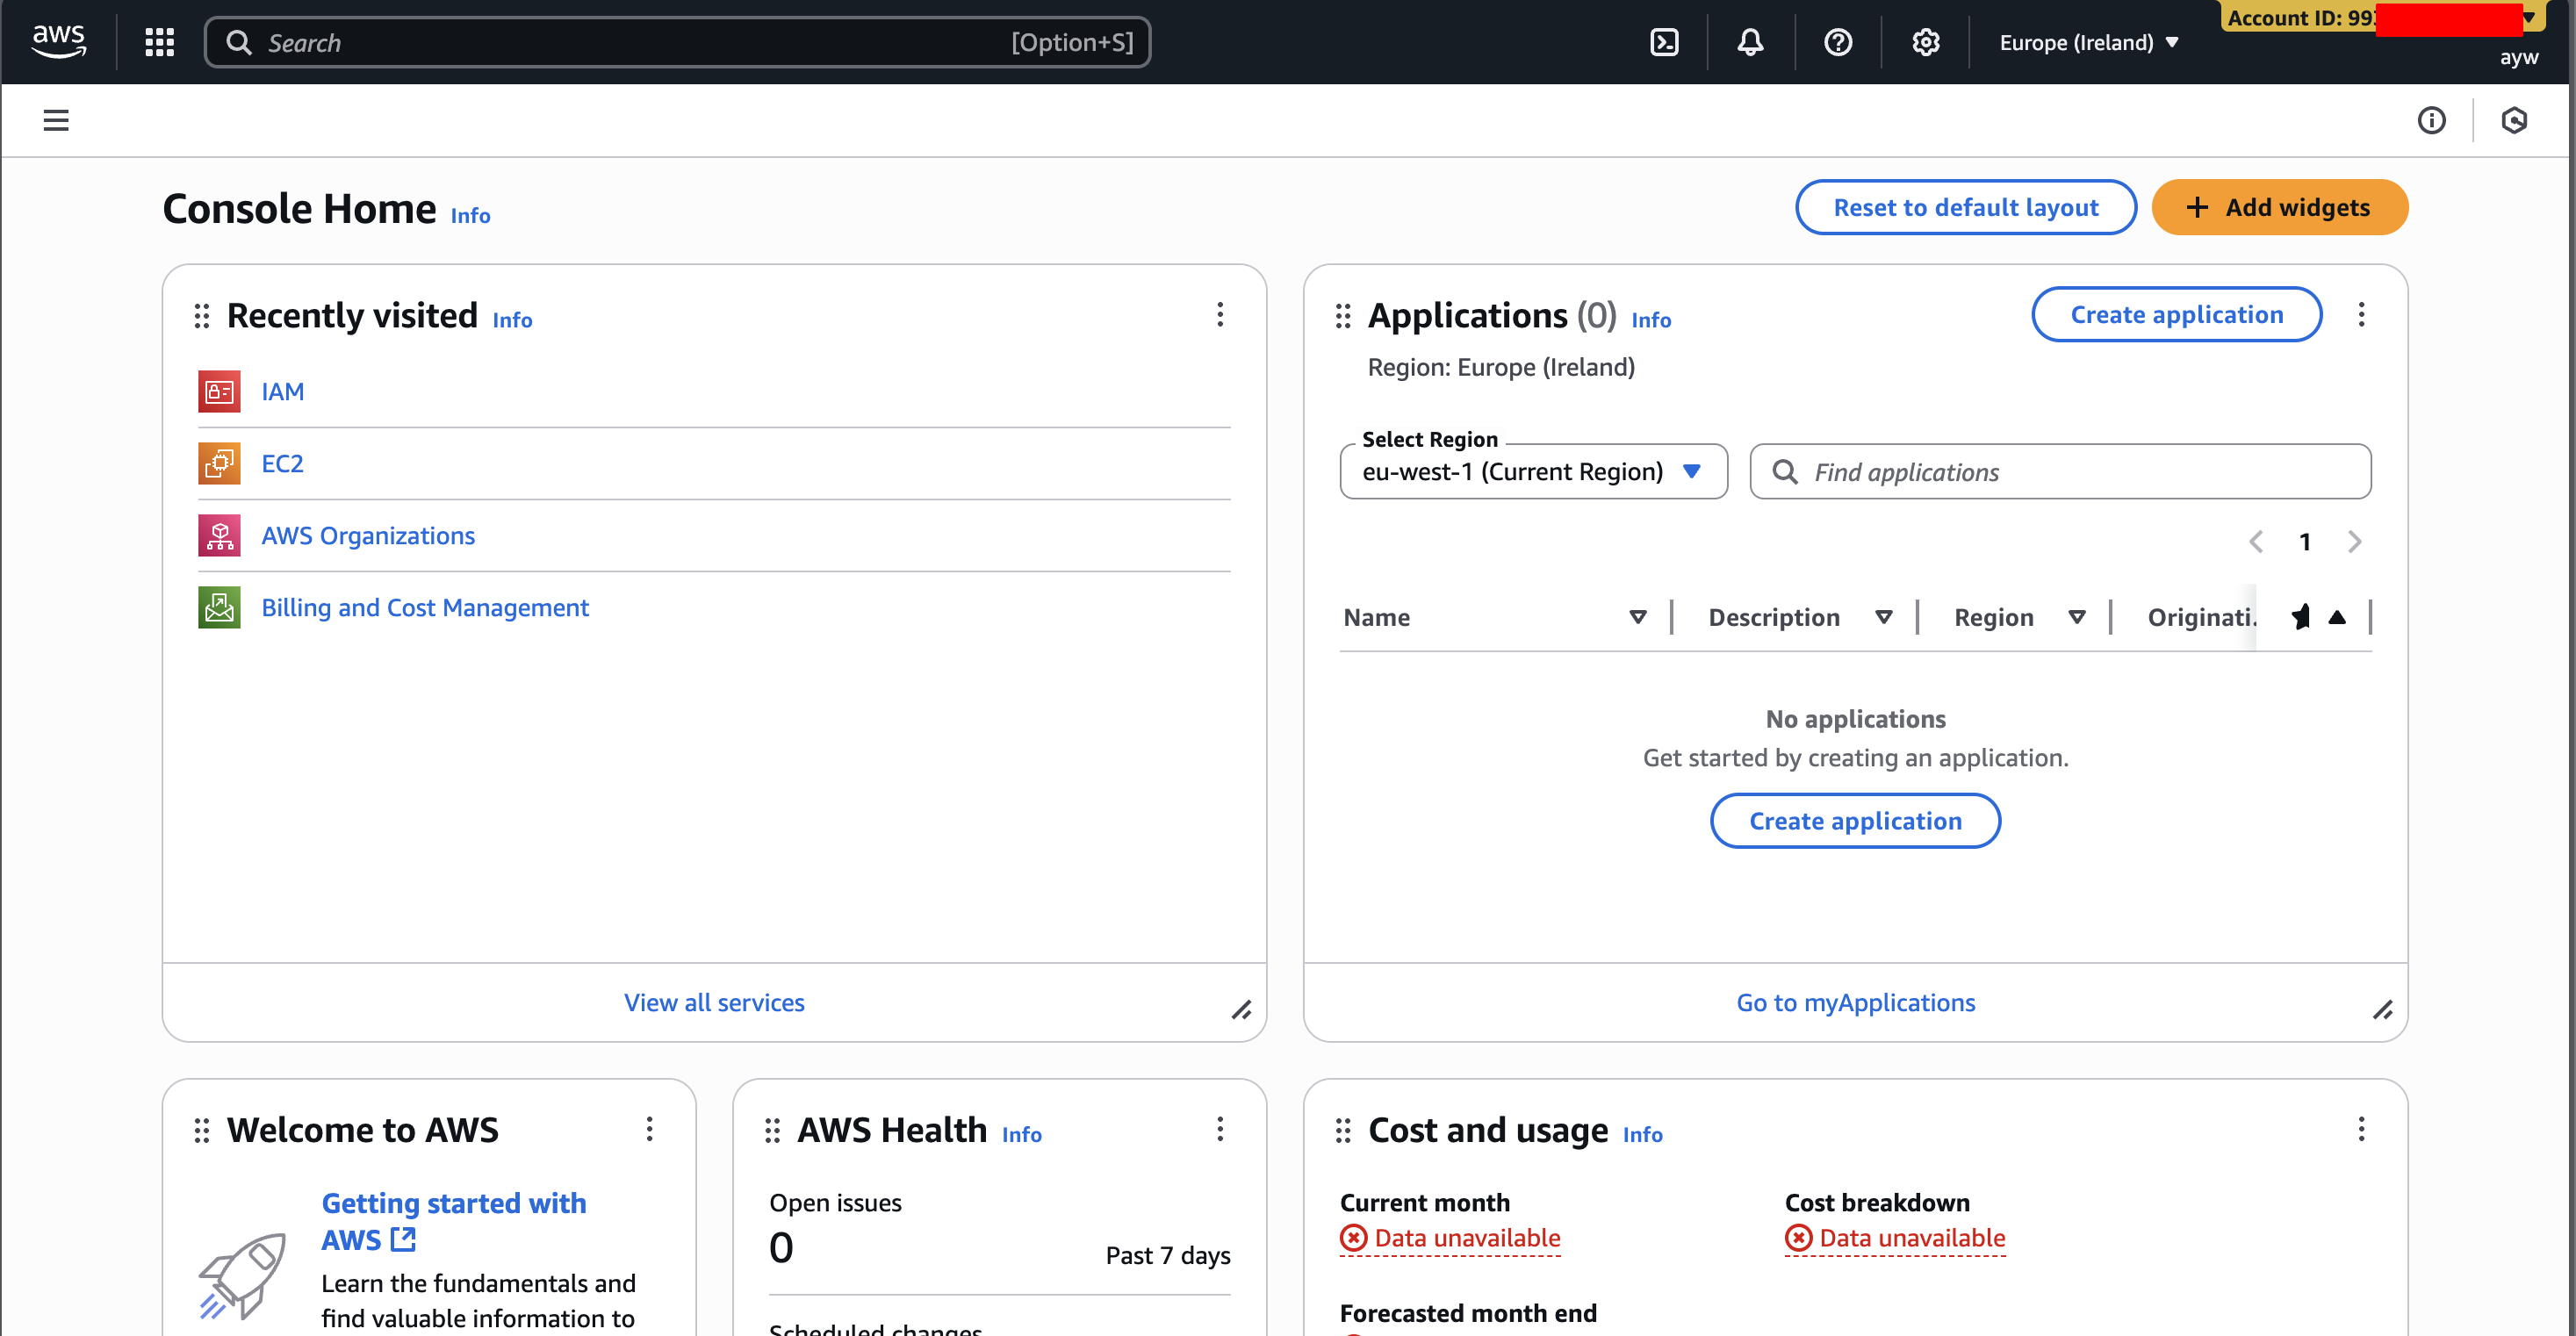
AWS Management Console
The AWS Management Console is a web-based user interface provided by Amazon Web Services (AWS) to manage and interact with AWS cloud resources.
How to login
- open https://aws.amazon.com/console/
- on the top right, click
Sign In to the Console - create a new AWS account if do not have an account yet
- login as root using root email or login with IAM user.
What is IAM? Why we need it?
- IAM = Identity and Access Management, Global Service
- Root account created by default, shouldn’t be used or shared
- Users are people within your organization, and can be grouped
- Groups only contain users, not other groups
- Users don’t have to belong to a group, and user can belong to multiple group.
- Users or Groups can be assigned JSON documents called policies.
- These policies define the permissions of the users
- In AWS you apply the least privilege principle: don’t give more permissions than a user need
How to create IAM user
- login as root
- on the search bar, type “IAM” and press enter
- on the left bar, click Users
- click Create user
- fill the user name, e.g.
alice - check “Provide user access to the AWS Management Console”
IAM Roles
- Some AWS service will need to perform actions on your behalf
- To do so, we will assign permissions to AWS services with IAM Roles
- Common roles:
- EC2 Instance Roles
- Lambda Function Roles
- Roles for CloudFormation
Hands-on
Create new user
- Create another user, e.g.
adi. For simplify, uncheck option “User must create a new …”
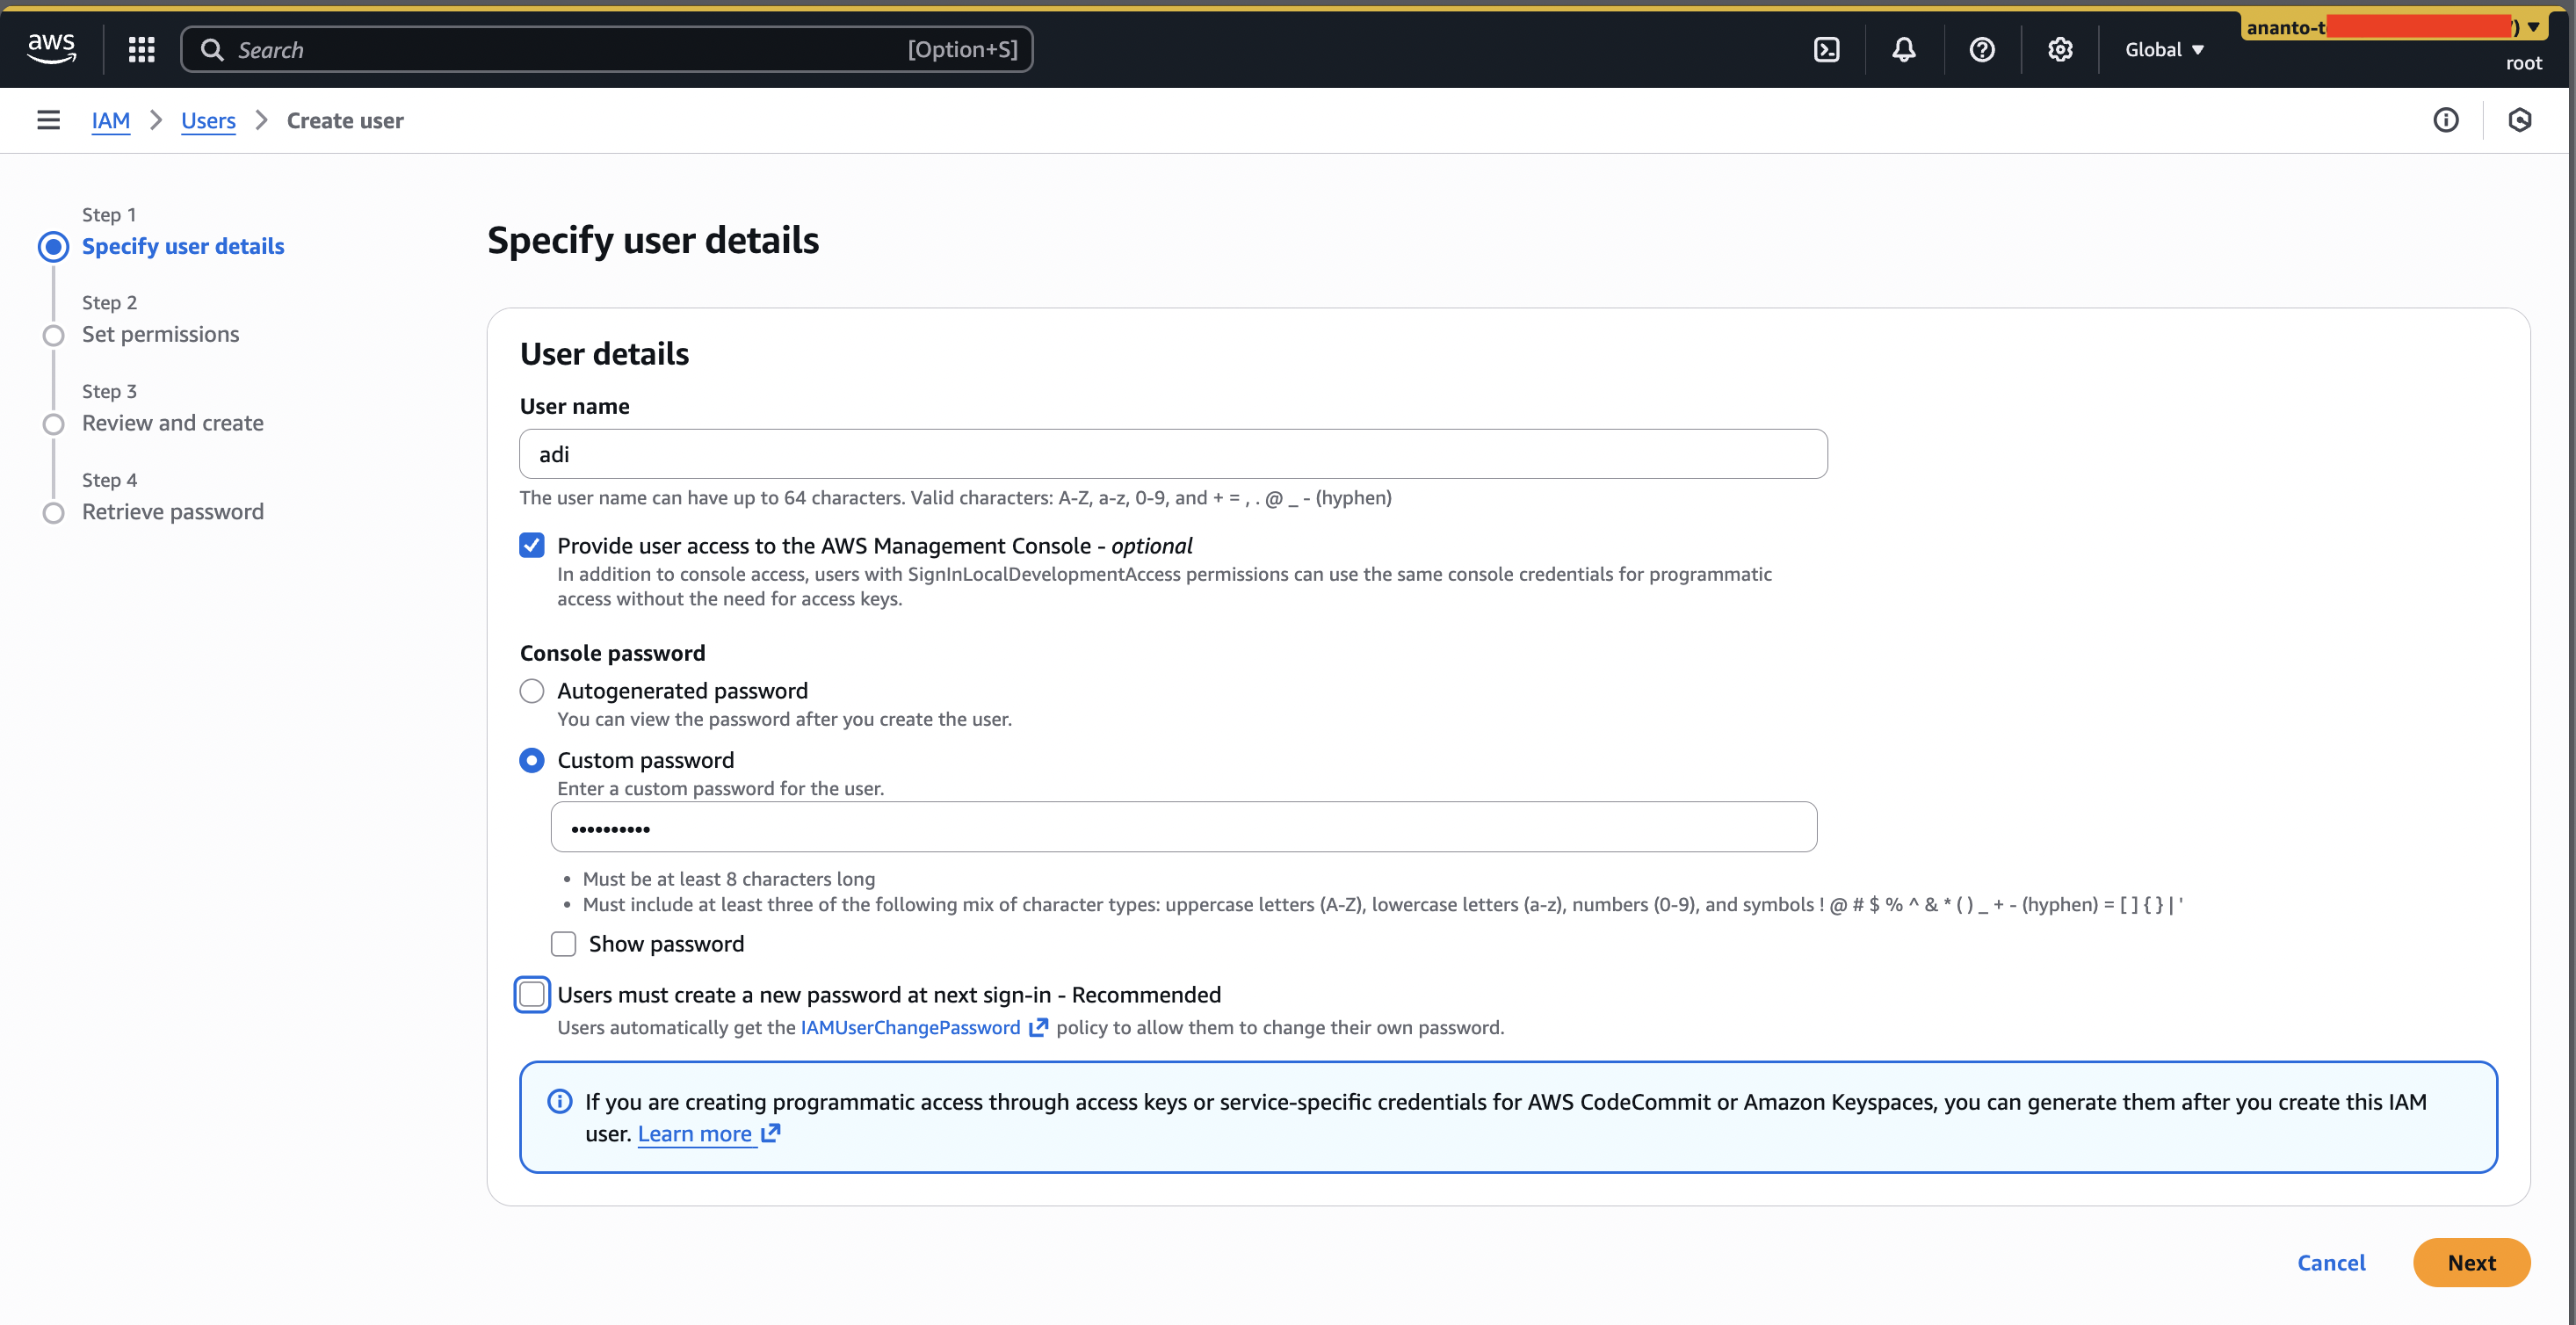
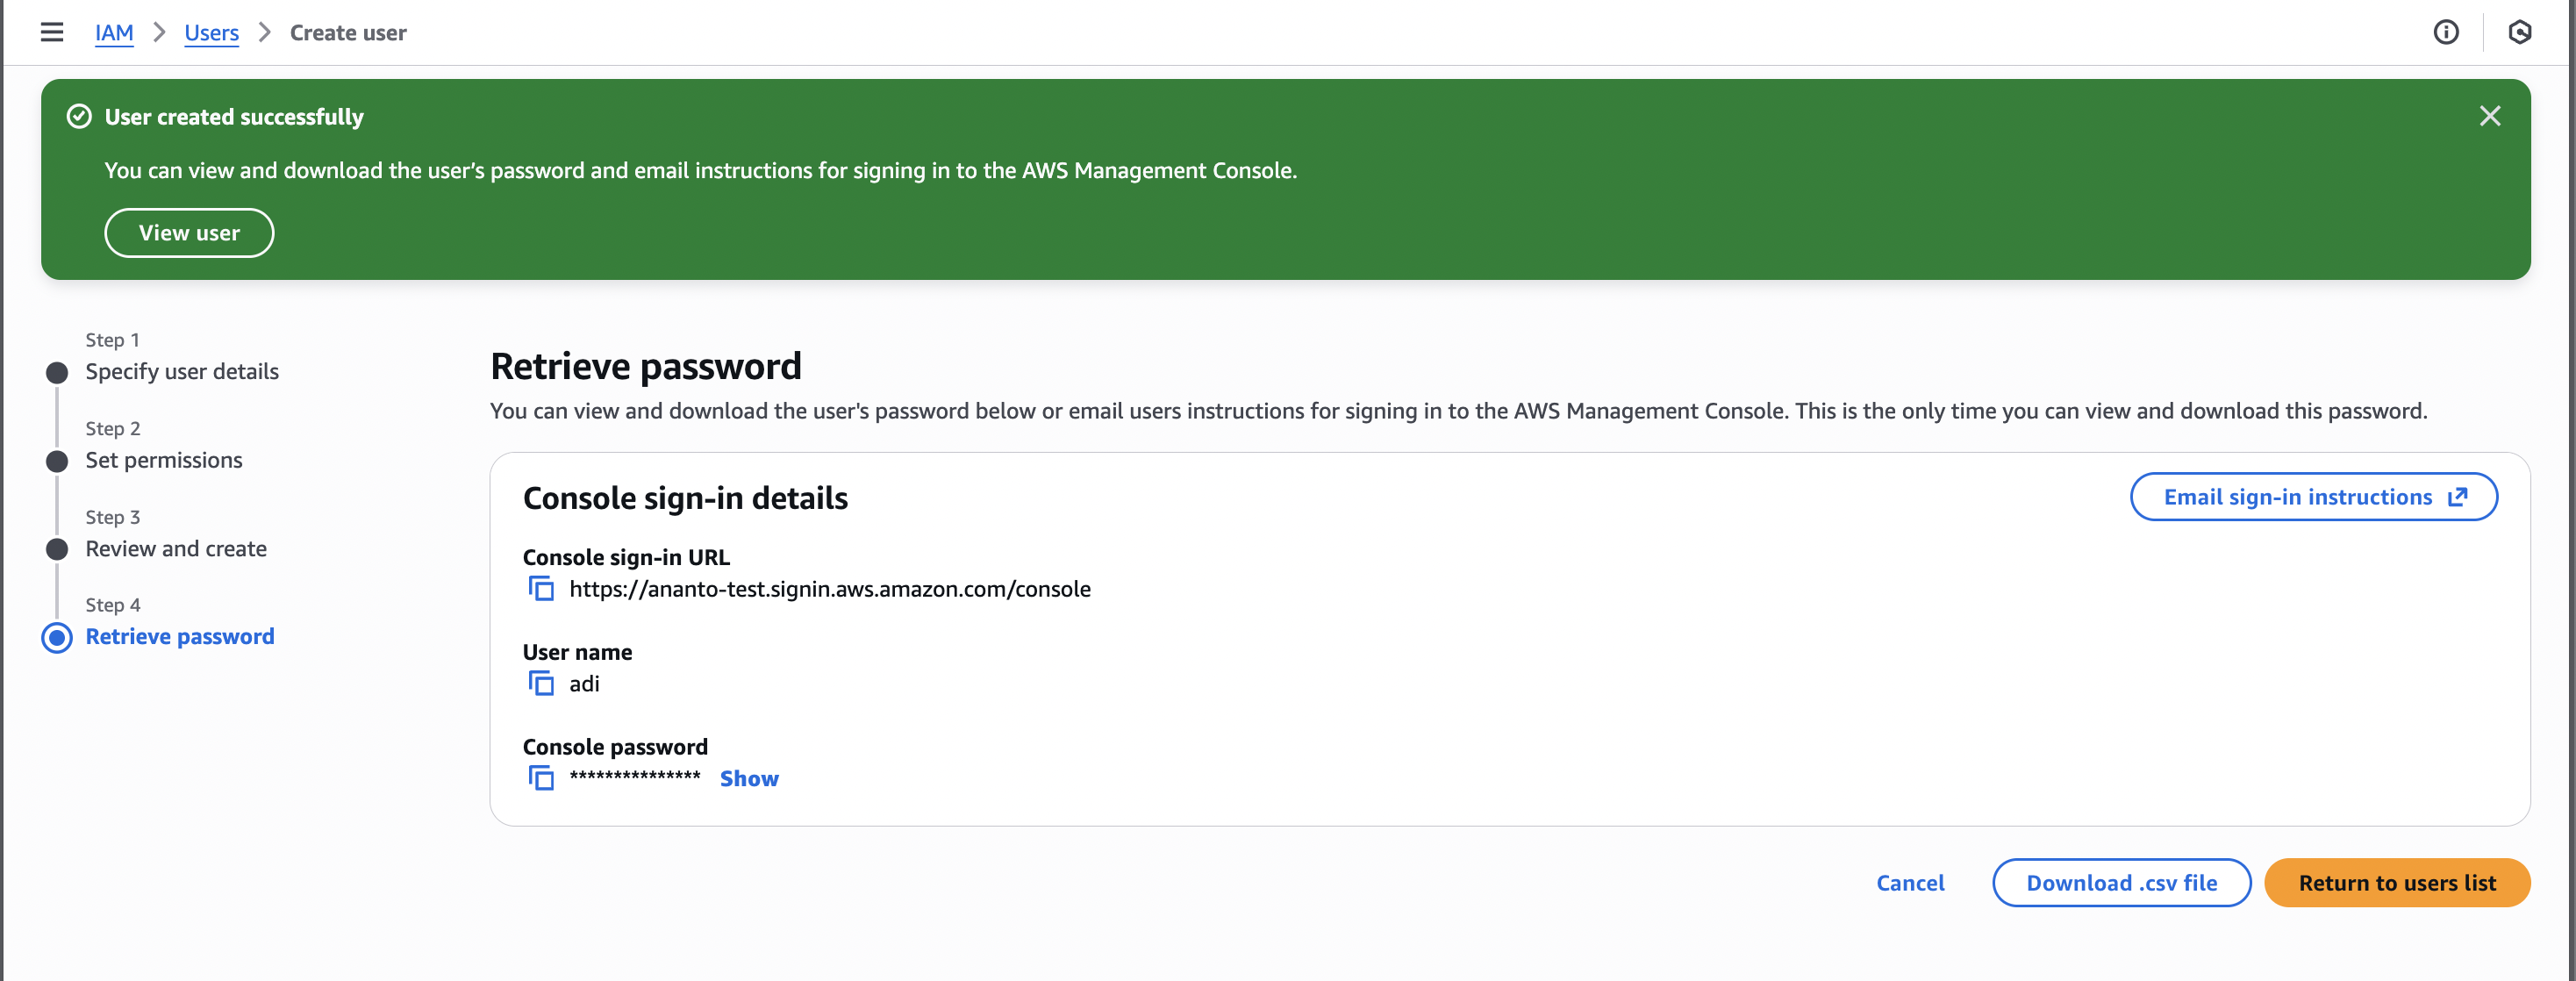
- Set permission to the user. you may play around with these two options later. For now just skip this step by clicking “Next”

- Then you will get review step with “no resources” in the permissions summary and click “Create user”.
- Then the success page will show up like this
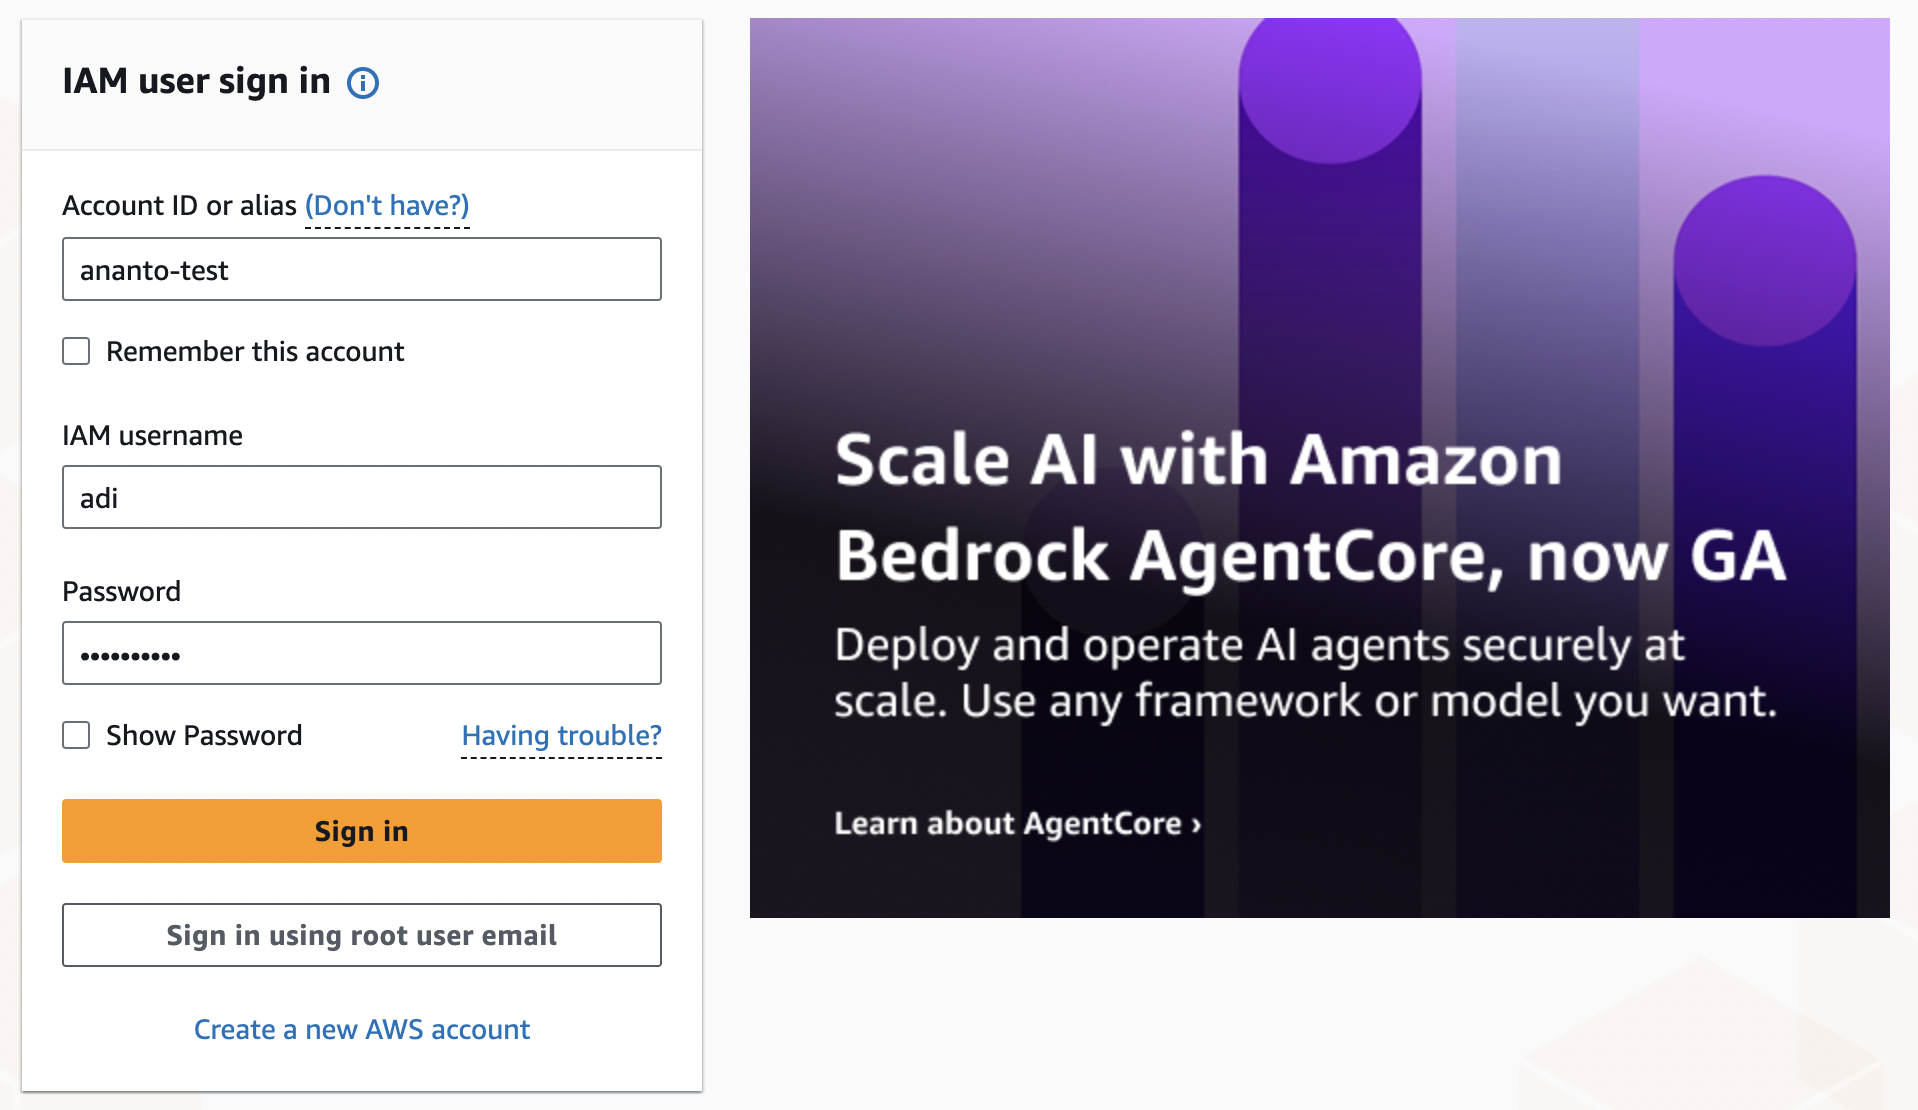
Test the new user
- you can test the new user by logging in with the new credential. There are two option to do this:
- open another browser
- turn on multi-session support on the top right menu, then menu “add session” will appear.

- login with new account
- open the IAM dashboard and you’ll see some restriction due to lack permission

- now let’s add permission to the new user. from root or admin account window, go to IAM dashboard menu > Users > adi. Then click “Add permissions” option
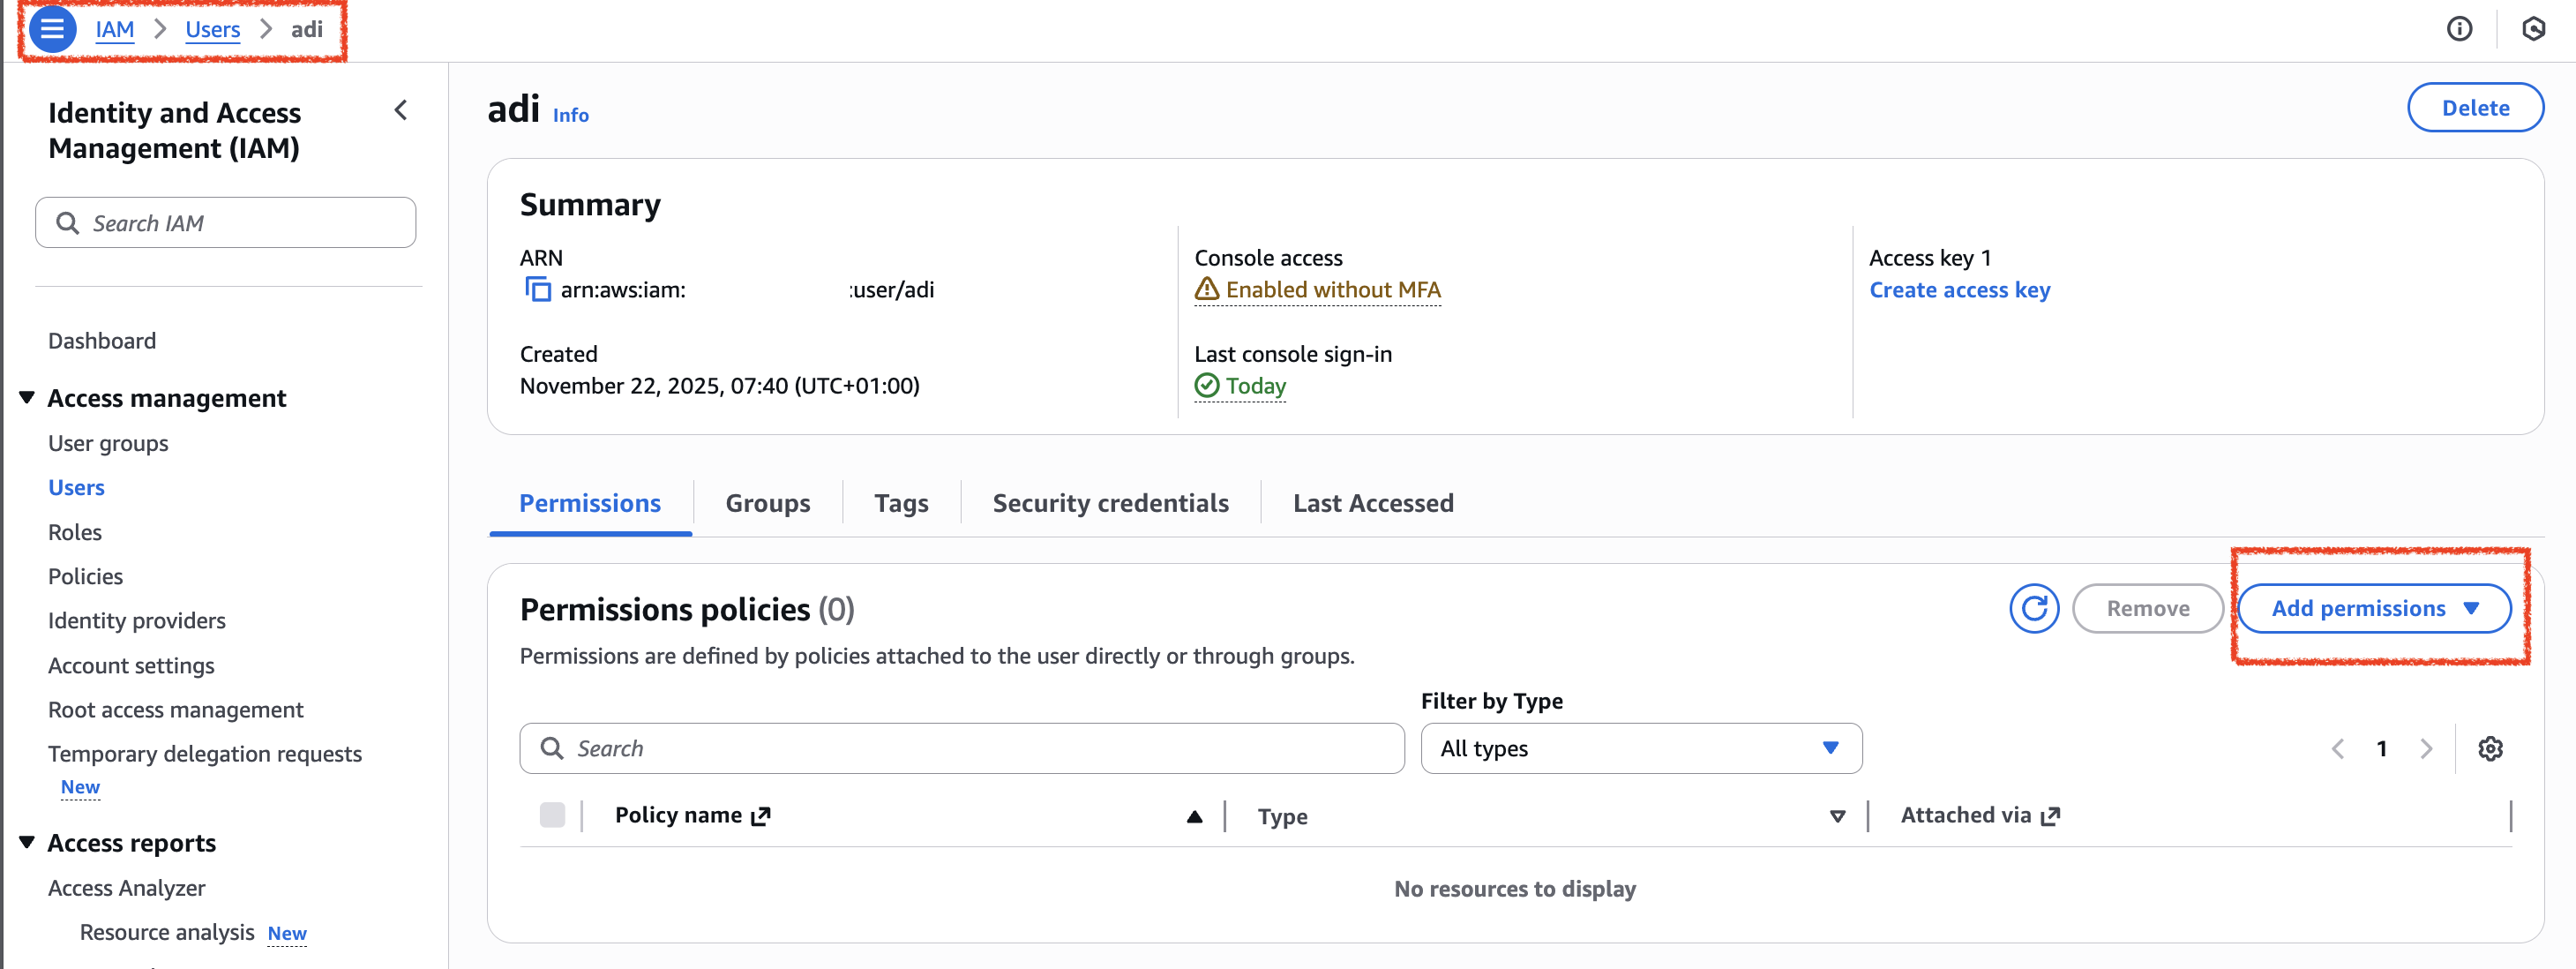
- Then choose “Attach policies directly”, then search for “IAMReadOnlyAccess” and check the box. Click “Next”
- On the review page, click “Add permissions”
- Back to user tab / windows, and open the IAM dashboard (see step 3) or refresh the browser. Now you can see the information.
Aws Cli
Configure Access
- create an access key for user that you want to login via cli
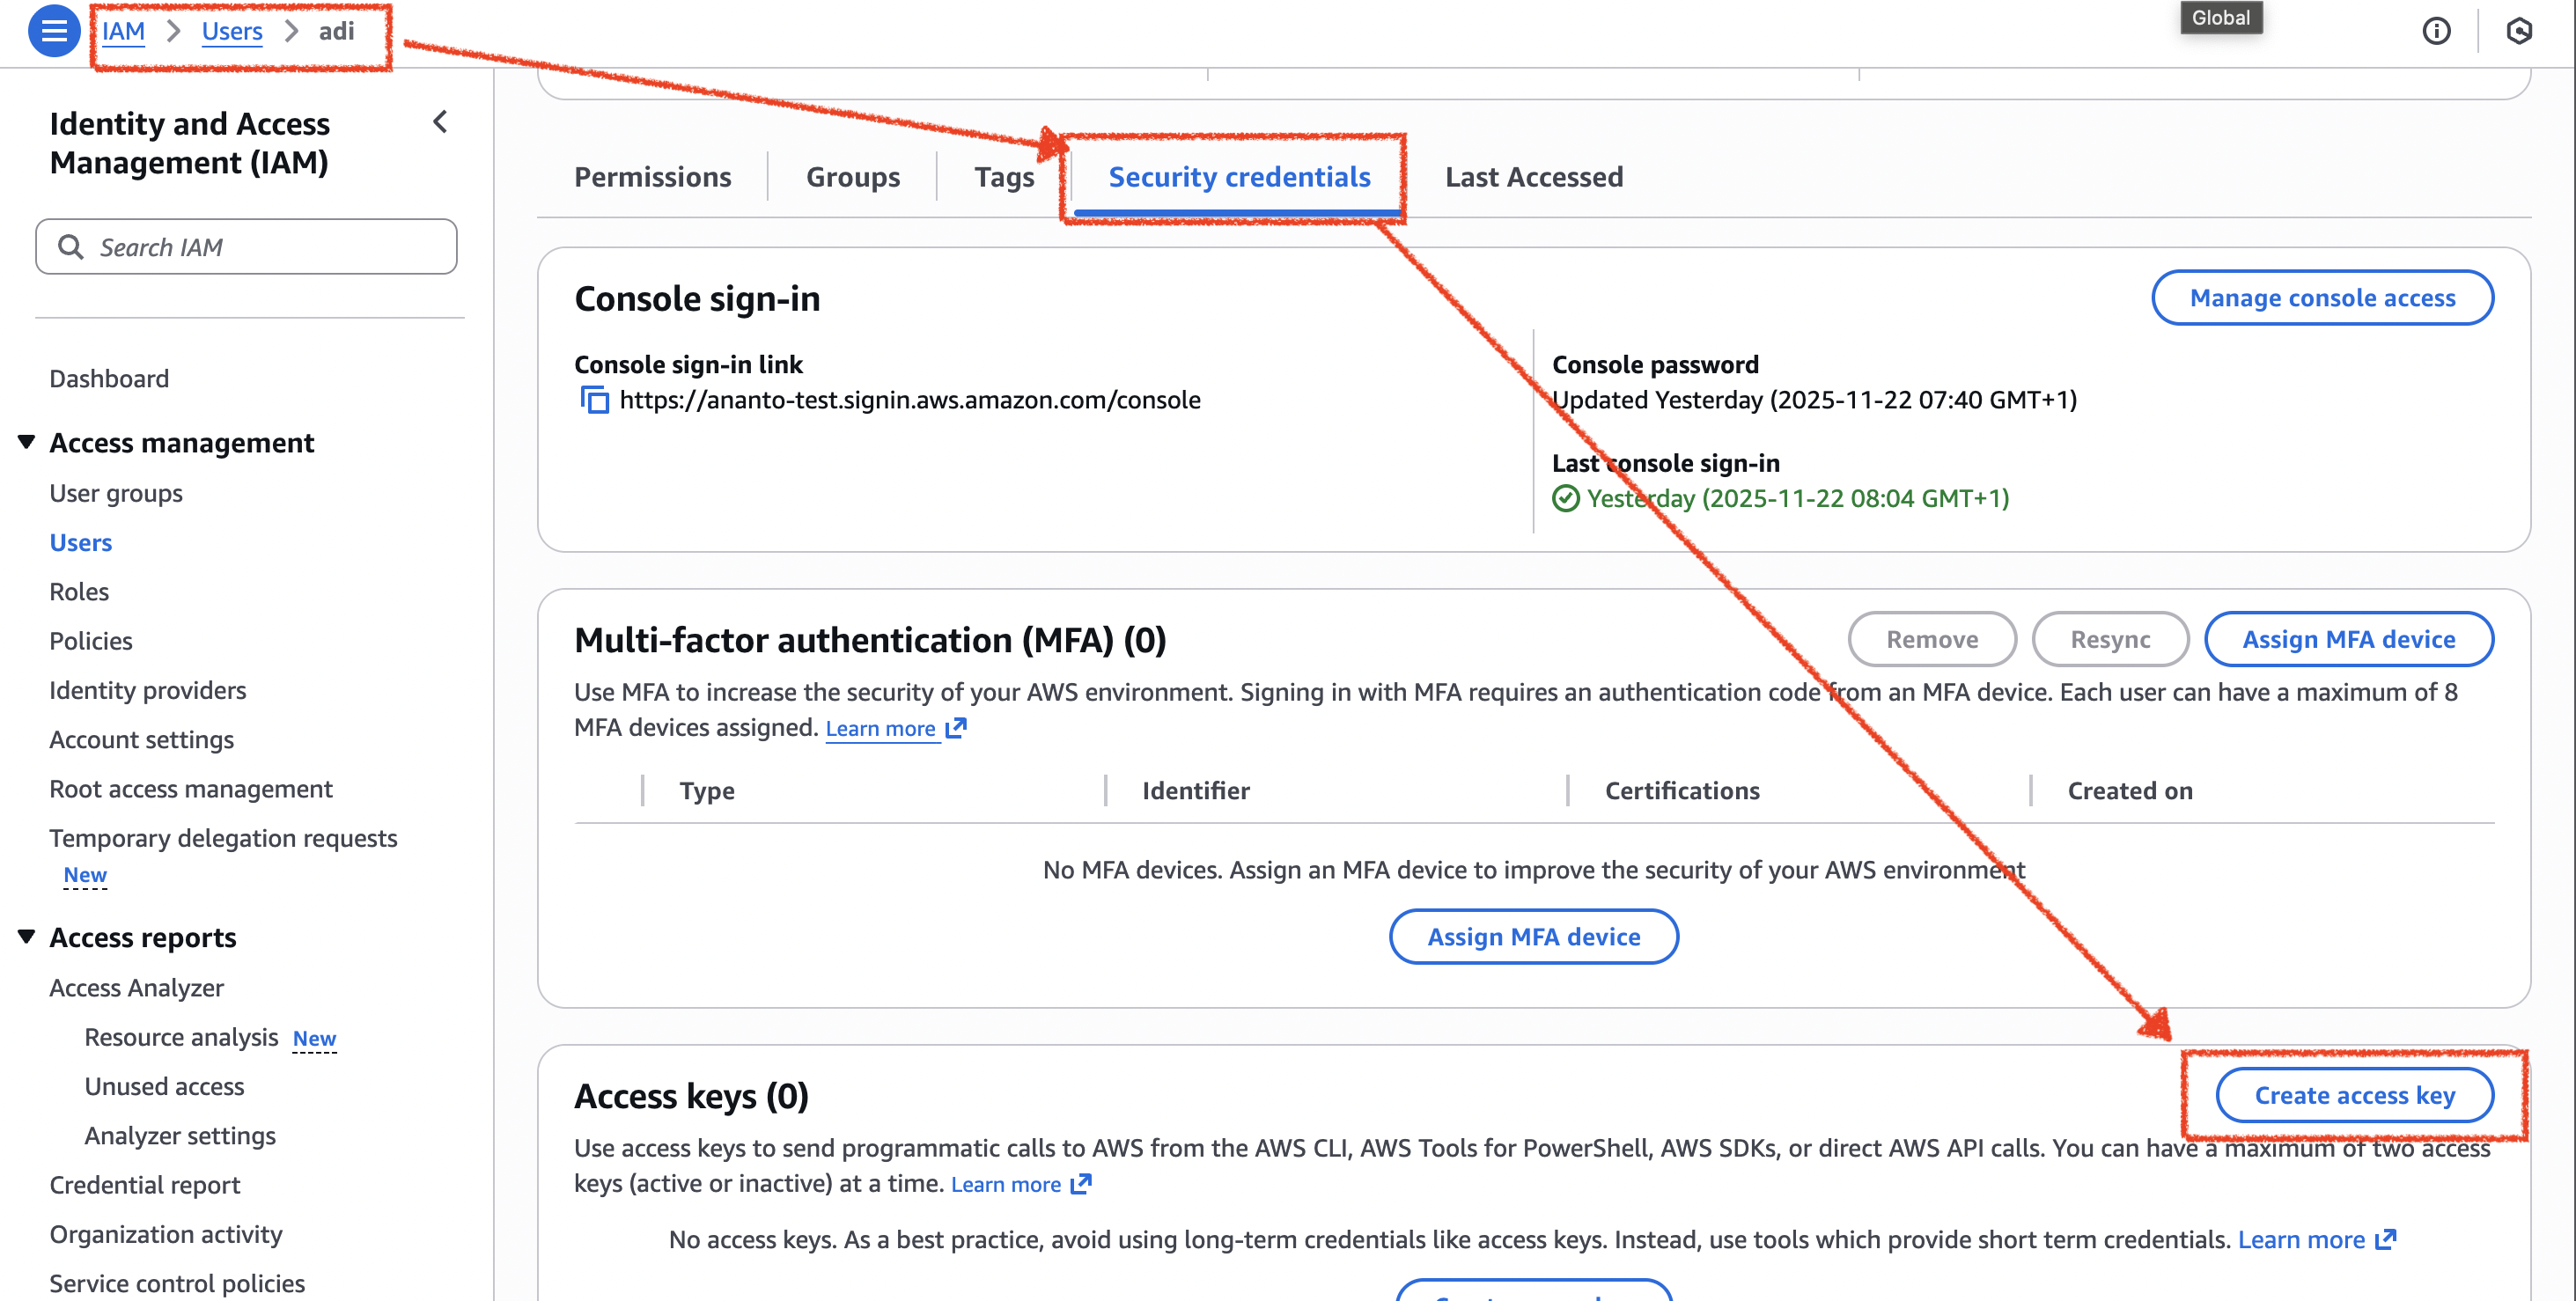
- check use case “Command Line Interface (CLI)” option and “I understand …”, then click “Next” button
- then click “Create access key” button
- then you will get the access key and secret key. copy them and save them in a secure place.
Use Access Key
- install aws cli on your local machine (https://docs.aws.amazon.com/cli/latest/userguide/getting-started-install.html)
- you may play around with aws cli by running
aws --versionoraws help - to access the cli via access key, run
aws configureand input the access key and secret key. - now try to run
aws iam list-usersand you should see the list of users. If it does not work, check permission of the user.