Preliminary
To make our life easier, use alias
alias k=kubectl
alias mk=minikube
You can create your own alias too!
Install
To install Minikube, refer to the official guidelines at https://minikube.sigs.k8s.io/docs/start. Personally, I use EndeavourOS (an Arch-based Linux distribution), so I simply run sudo pacman -S minikube (refer to https://archlinux.org/packages/extra/x86_64/minikube/) to complete the installation.
Command
Profile
Get List
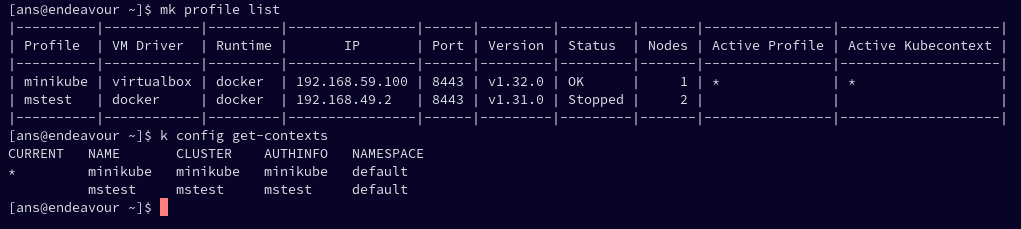
Lists all valid minikube profiles and detects all possible invalid profiles.
mk profile list
to get list kubecontext use command
k config get-contexts
the result is like
Switch
This command switches the active Minikube profile to the specified profile_name.
minikube profile profile-name
to switch kubecontext, we can use this command
k config use-context context_name
Start
This command starts a Minikube cluster with the given profile_name. If the profile doesn’t exist, it will create a new one.
minikube start -p profile_name
# example creating cluster with name 'newkube' using docker with 3 replicas
minikube start -p newkube  --driver=docker --nodes=3
Delete
This command will delete the associated Kubernetes cluster and its resources.
mk delete -p profile_name
Using the –purge flag will delete the .minikube folder from your user directory. This will remove all minikube related data. This is very useful when you want to fully clean up minikube.
mk delete --purge
This command will delete all Minikube profiles.
mk delete --all